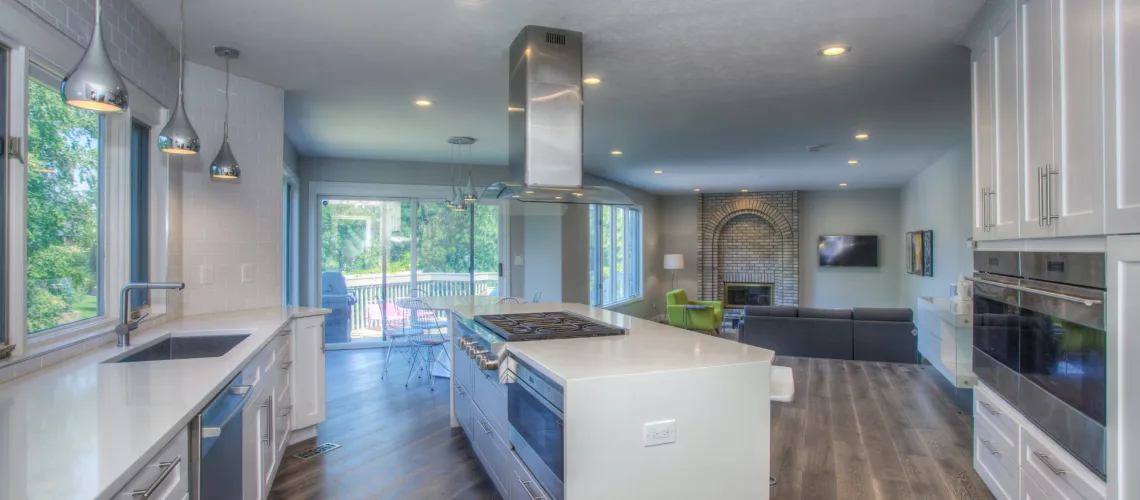
Are you tired of the worn-out appearance of your cabinets? Painting them can breathe new life into your space and give it a fresh, updated look. However, before you pick up that paintbrush, it’s crucial to prepare your cabinets properly to ensure a flawless and long-lasting finish. In this blog post, we’ll delve into the essential steps of cabinet prep for painting, addressing common questions along the way.
What do you prep cabinets with before painting?
The key to successful cabinet painting lies in thorough preparation. Before diving into the painting process, here’s what you need to do:
- Cleaning Cabinets: Start by removing any dirt, grime, or grease buildup from the surfaces of your cabinets. Use a mild detergent or a grease-cutting cleaner to ensure a clean canvas for the paint.
- Sanding Cabinets: Lightly sanding the cabinets is crucial to create a surface that allows the new paint to adhere properly. It helps remove any glossiness and smooth out imperfections. Use fine-grit sandpaper (around 120-220 grit) and sand in the direction of the wood grain.
Do I have to sand my cabinets before painting?
While sanding is highly recommended, especially for achieving better paint adhesion, it may not be necessary in certain cases. If your cabinets are in excellent condition, you may be able to skip the sanding step. However, it’s still essential to clean the surfaces thoroughly and use a suitable primer before painting to ensure the best results.
How do you sand and prep cabinets for painting?
Proper sanding and preparation are vital for a successful cabinet painting project. Follow these steps:
- Remove Cabinet Hardware: Begin by taking off all the cabinet hardware, such as knobs, handles, and hinges.
- Clean the Cabinets: Use a mild detergent or a grease-cutting cleaner to remove dirt, grime, and grease from the surfaces. Ensure they are completely clean and dry before proceeding.
- Lightly Sand the Surfaces: Grab your fine-grit sandpaper and gently sand the cabinet surfaces. This step helps create a roughened surface for better paint adhesion and smoothes out any imperfections. Remember to wipe away any sanding dust with a tack cloth or a damp cloth.
- Address Imperfections: If you notice any scratches, dents, or gaps, apply a suitable wood filler to repair them. Once the filler dries, sand it lightly to create a seamless surface.
- Apply Primer: To enhance paint adhesion and provide a uniform base, apply a high-quality primer specifically designed for cabinets. Follow the manufacturer’s instructions and allow the primer to dry thoroughly before painting.
Can you just paint over cabinets?
While it’s possible to paint over cabinets without sanding, it’s generally recommended to sand them lightly beforehand. Sanding helps the new paint adhere better and provides a more durable finish. It also allows you to smooth out any imperfections on the cabinet surface, resulting in a polished and professional appearance.
Do you wash cabinets after sanding?
Yes, it’s essential to wash cabinets after sanding to remove any dust or debris. Wipe them down with a tack cloth or a damp cloth to ensure a clean surface free from any sanding residue. This step guarantees optimal paint adhesion and a smooth finish.
By following these crucial steps of cabinet prep for painting, you’ll be well on your way to achieving stunning and long-lasting results. Remember, proper preparation sets the foundation for a successful cabinet painting project.
Now that you’re armed with the knowledge of cabinet prep, it’s time to unleash your creativity and transform your space with a fresh coat of paint. Get ready to enjoy the beauty and rejuvenation that come with beautifully painted cabinets!

