

Table of contents
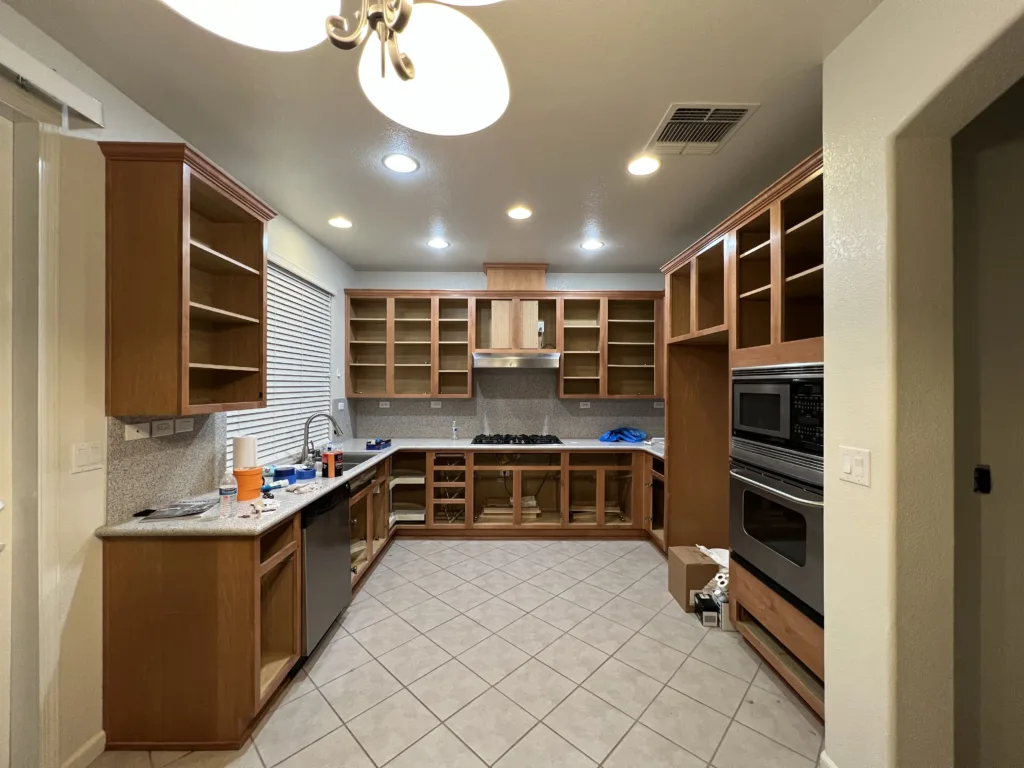
Getting Started: Is your kitchen looking a tad dated because of those old laminate cabinets? You’re not alone. But you don’t need to shell out for a complete renovation just yet. With a few tools and the right techniques, you can repaint them for a refreshed and modern look. Dive into our comprehensive guide to navigate the intricacies of painting over laminate and ensure you achieve professional results every time.
Can you paint over laminate cabinets?
Yes, you can paint over laminate cabinets, but there are specific steps and considerations to ensure a durable, long-lasting finish.
Understanding Laminate Cabinets
Laminate is a favored material in kitchen cabinetry due to its durability and cost-effectiveness. It is essentially a plastic material that’s fused to particleboard. While it’s designed for longevity, its smooth, non-porous surface can pose challenges when it comes to repainting.
What You’ll Need
| Materials | Tools |
|---|---|
| Laminate-safe primer | Sandpaper (various grits) |
| Laminate-compatible paint | Paintbrushes (angled and straight) |
| Painter’s tape | Paint roller (foam roller) |
| Drop cloths | Spray paint gun (optional) |
| Cleaning solution | Safety goggles and mask |
Preparing Laminate Cabinets for Painting
The secret to a flawless paint job is all in the preparation.
- Cleaning: Start by wiping down the cabinets with a degreasing solution to eliminate any residue or grease.
- Sanding: Lightly sand the surface using a 220-grit sandpaper. This ensures the paint adheres well.
- Priming: Apply a thin coat of bonding primer designed for glossy surfaces, which will serve as a grip for the paint.
Choosing the Right Paint for Laminate
Not all paints are created equal, especially when painting laminate.
- Types of Paints: Oil-based paints are durable and long-lasting but take longer to dry. On the other hand, latex paints dry faster and are easier to clean up, while specialty paints are formulated specifically for laminate surfaces.
- The Role of Finishes: Matte finishes give a modern touch but can show blemishes. Glossy finishes are shiny, easier to clean, and can make colors pop.
Painting Laminate Cabinets: Step-by-Step
Gathering Materials: Equip yourself with brushes, rollers, painter’s tape, and trays.
Removing Hardware: Use a screwdriver to detach handles and knobs to ensure even painting.
Application Techniques: For a smooth finish, use a foam roller. If you opt for spraying, ensure you protect adjacent areas from overspray.
Drying and Curing: Let each coat dry thoroughly (usually overnight) before applying the next.
| Step | Description |
|---|---|
| 1. Clean the Cabinets | Remove any grease, grime, or dust using a mild detergent mixed with water. Ensure the cabinets are thoroughly cleaned and dried. |
| 2. Sand the Surface | Lightly sand the laminate with fine-grit sandpaper (e.g., 220-grit) to create a texture for better primer and paint adherence. Wipe down the surface to remove any dust post-sanding. |
| 3. Prime the Cabinets | Use a primer specifically designed for laminate surfaces to provide a base for the paint. Let it dry as per manufacturer’s instructions. |
| 4. Paint the Cabinets | Apply a high-quality latex or oil-based paint. Use thin coats and let each coat dry thoroughly before the next application. Multiple coats may be required for full coverage. |
| 5. Seal the Paint | (Optional) For added durability, especially in high-moisture or high-traffic areas, apply a clear sealer over the paint. |
| 6. Reattach Hardware | Once the paint has dried, reattach any cabinet hardware such as handles and knobs. |
| 7. Maintenance | Maintain the cabinets by gently cleaning them and performing occasional touch-ups on areas of frequent use. |
| Tips | – Work in a well-ventilated area. – Test paint on a small inconspicuous area first. – Follow manufacturer’s instructions for paint and primer. – Address any damaged or peeling laminate before painting. |
Painting Laminate Cabinets: Dos and Don’ts
- Do test a small, inconspicuous area first to check paint adherence.
- Don’t rush the drying process; patience pays off.
- Do apply thin, even coats to avoid drips and streaks.
- Don’t paint in a poorly ventilated area; safety first!
FAQs
- Q: How long does painted laminate last?
- A: With proper care and minimal exposure to moisture and direct sunlight, it can last up to 10 years.
- Q: Can I skip the sanding step?
- A: Sanding ensures better paint adhesion. Skipping this might compromise the paint job’s longevity.
- Q: How do I handle paint bubbles or streaks?
- A: If bubbles form, lightly sand the area and repaint it. Ensure you’re using quality brushes and rollers to prevent streaks.
Troubleshooting Common Issues
| Issue | Solution |
|---|---|
| Paint bubbling | Ensure surface is clean and dry before painting. |
| Streaky finish | Use thin, even coats and a good quality paintbrush. |
| Paint peeling off | Use a primer designed for laminate surfaces. |
| Uneven sheen | Ensure even application and use the right paint type. |
Summing Up
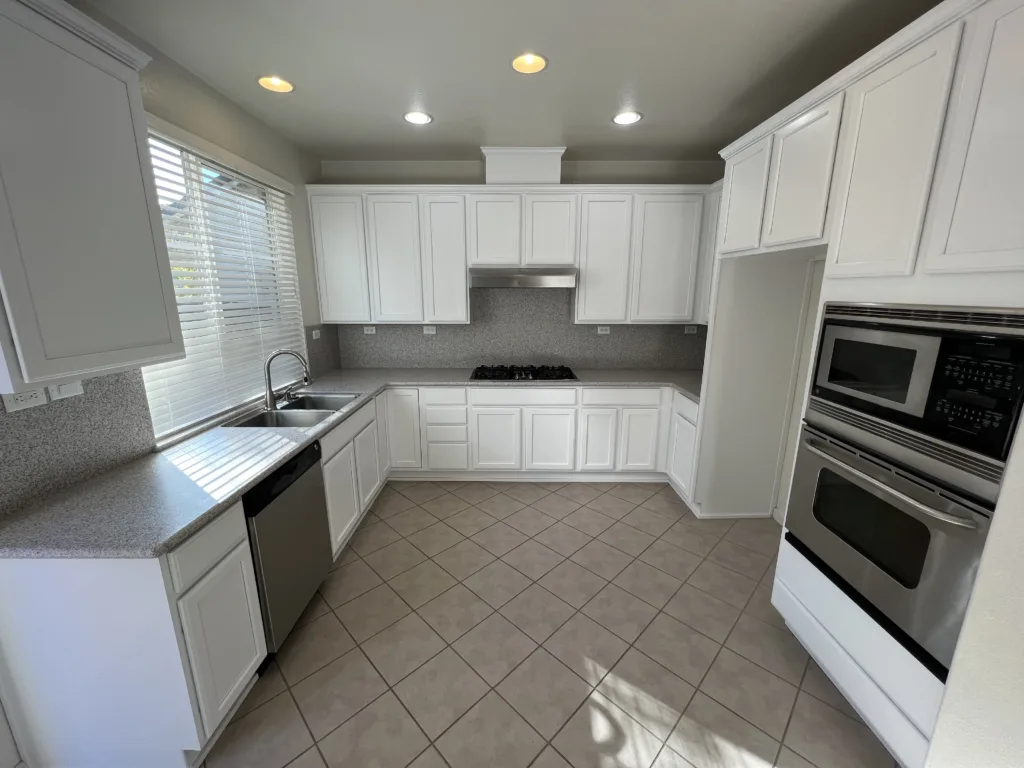
Revamping those old laminate cabinets can breathe new life into your kitchen. Armed with the right knowledge and tools, your DIY project can yield results that not only elevate the aesthetics but also add value to your home. So, embrace the challenge and reward yourself with a transformed space you’d love to spend time in.
Inspired by our guide?
Share your before-and-after photos on our platform and tag us. Dive deeper into home renovation by exploring our range of related articles and tips.